We accept walk-ins but reservations are appreciated and encouraged, particularly for dinner services. Dining is open to the public.
Hours Of Operation:
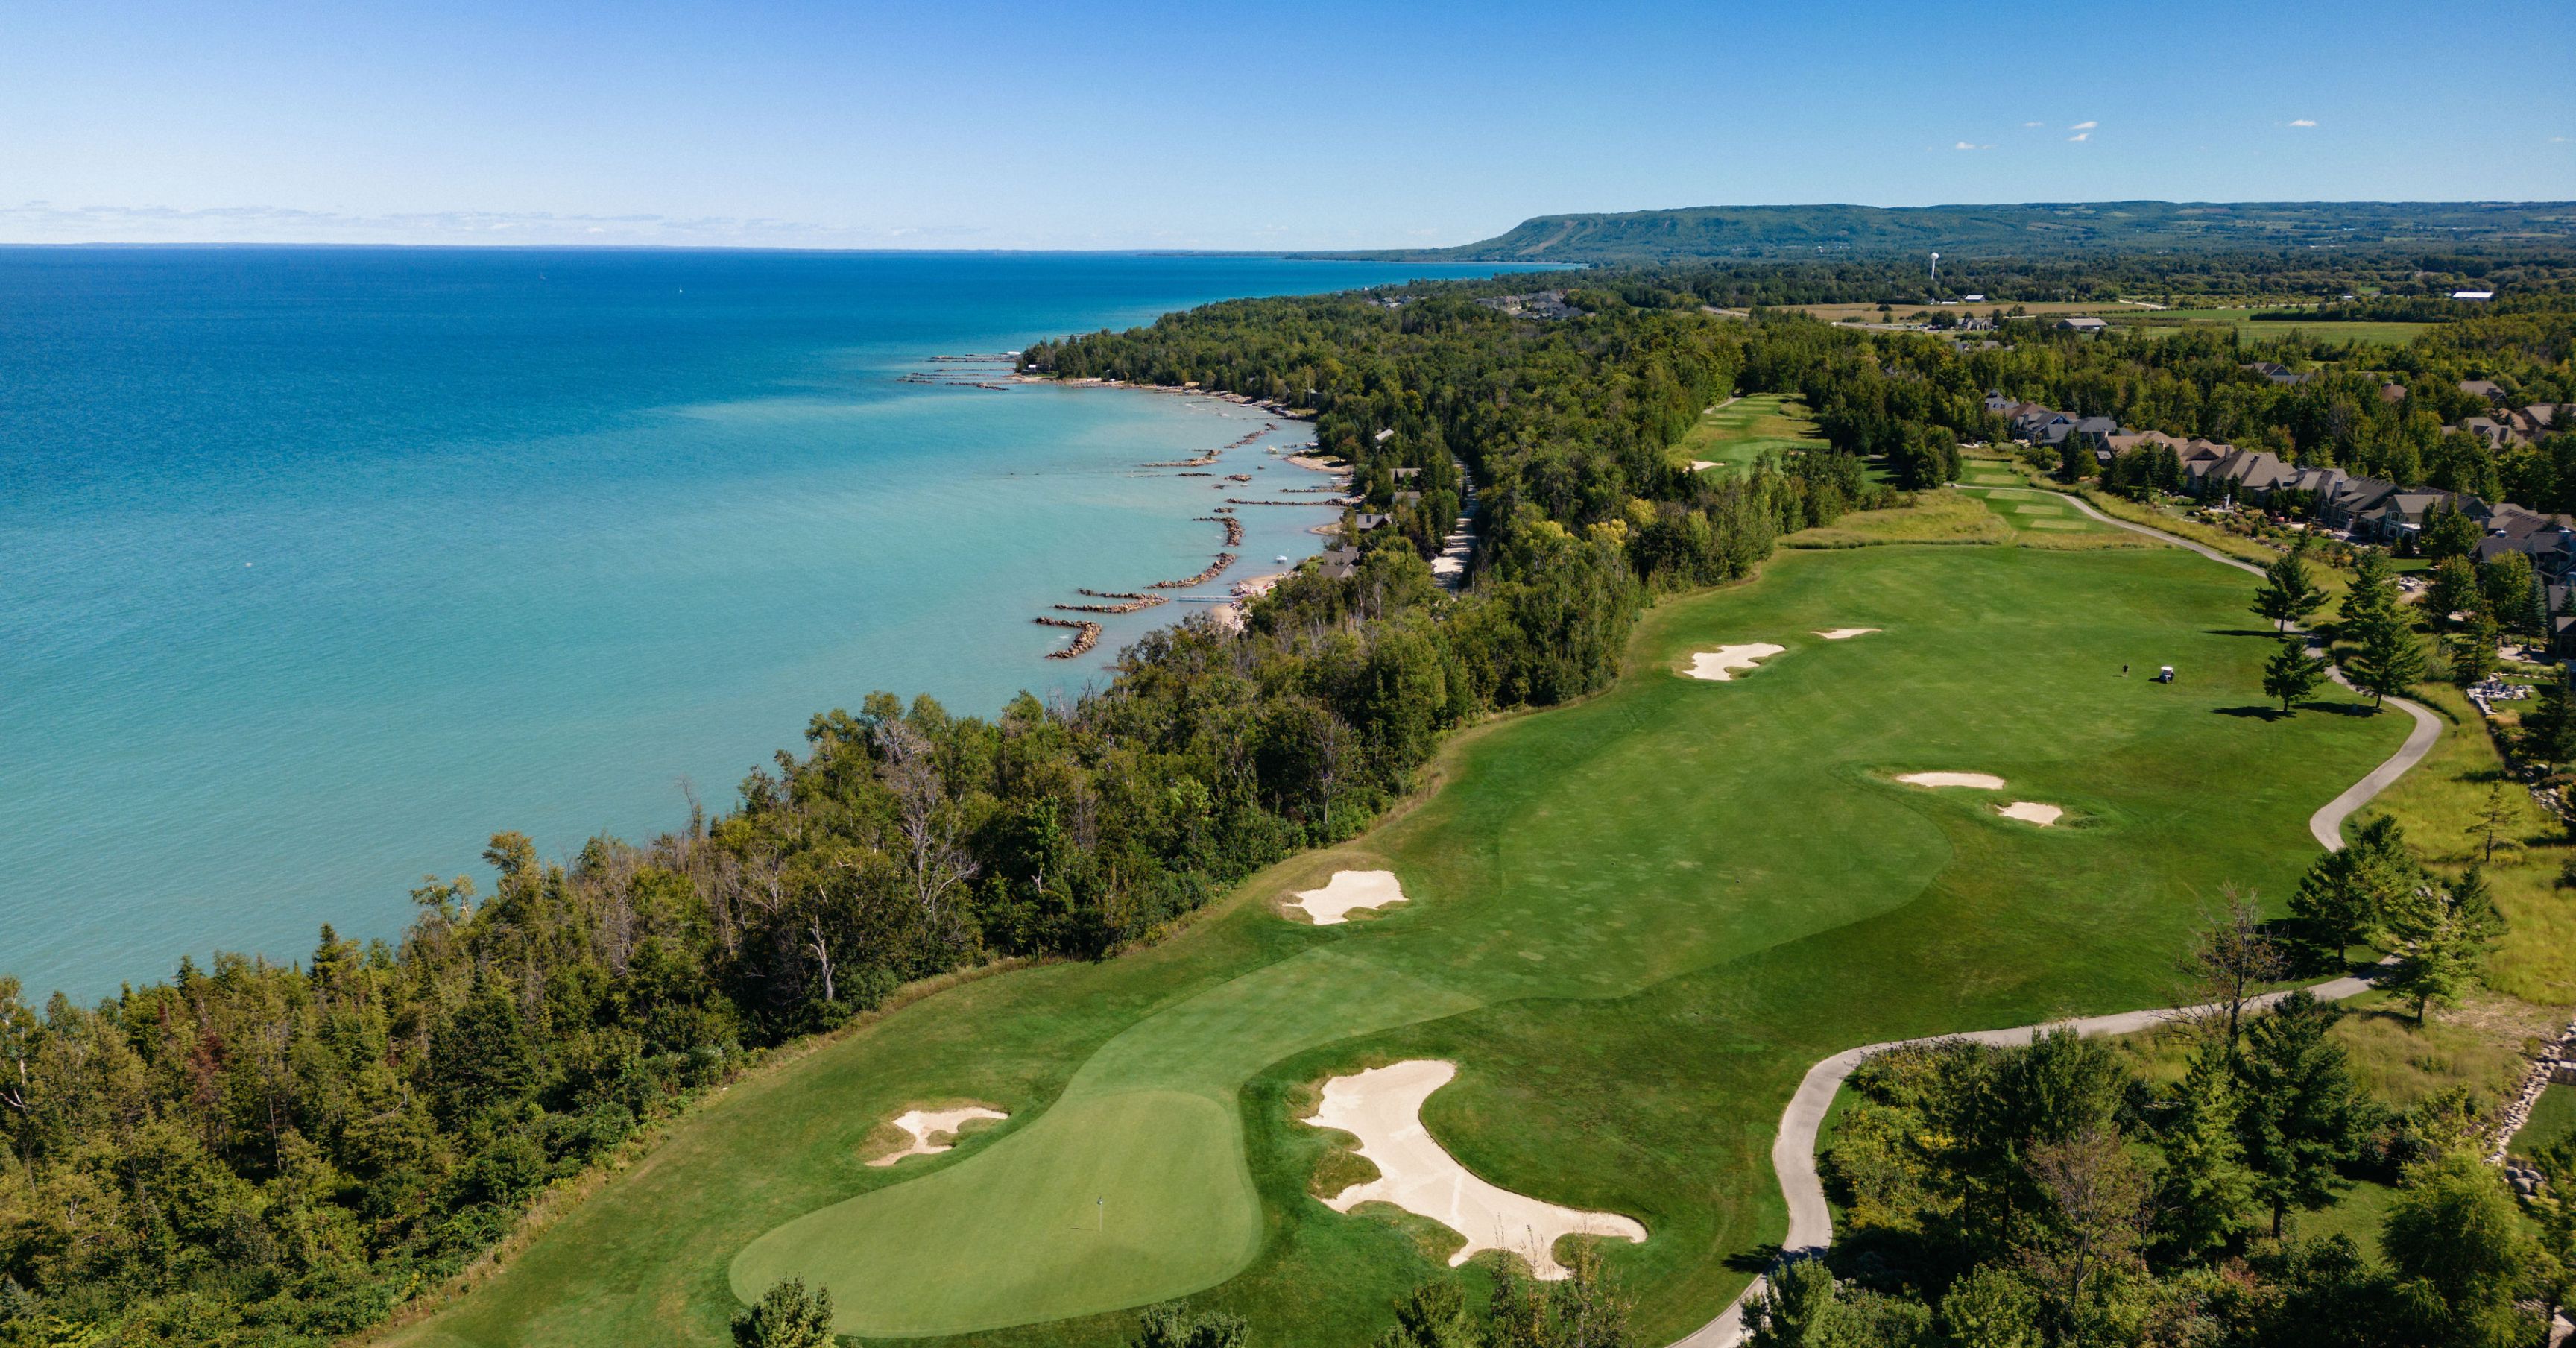
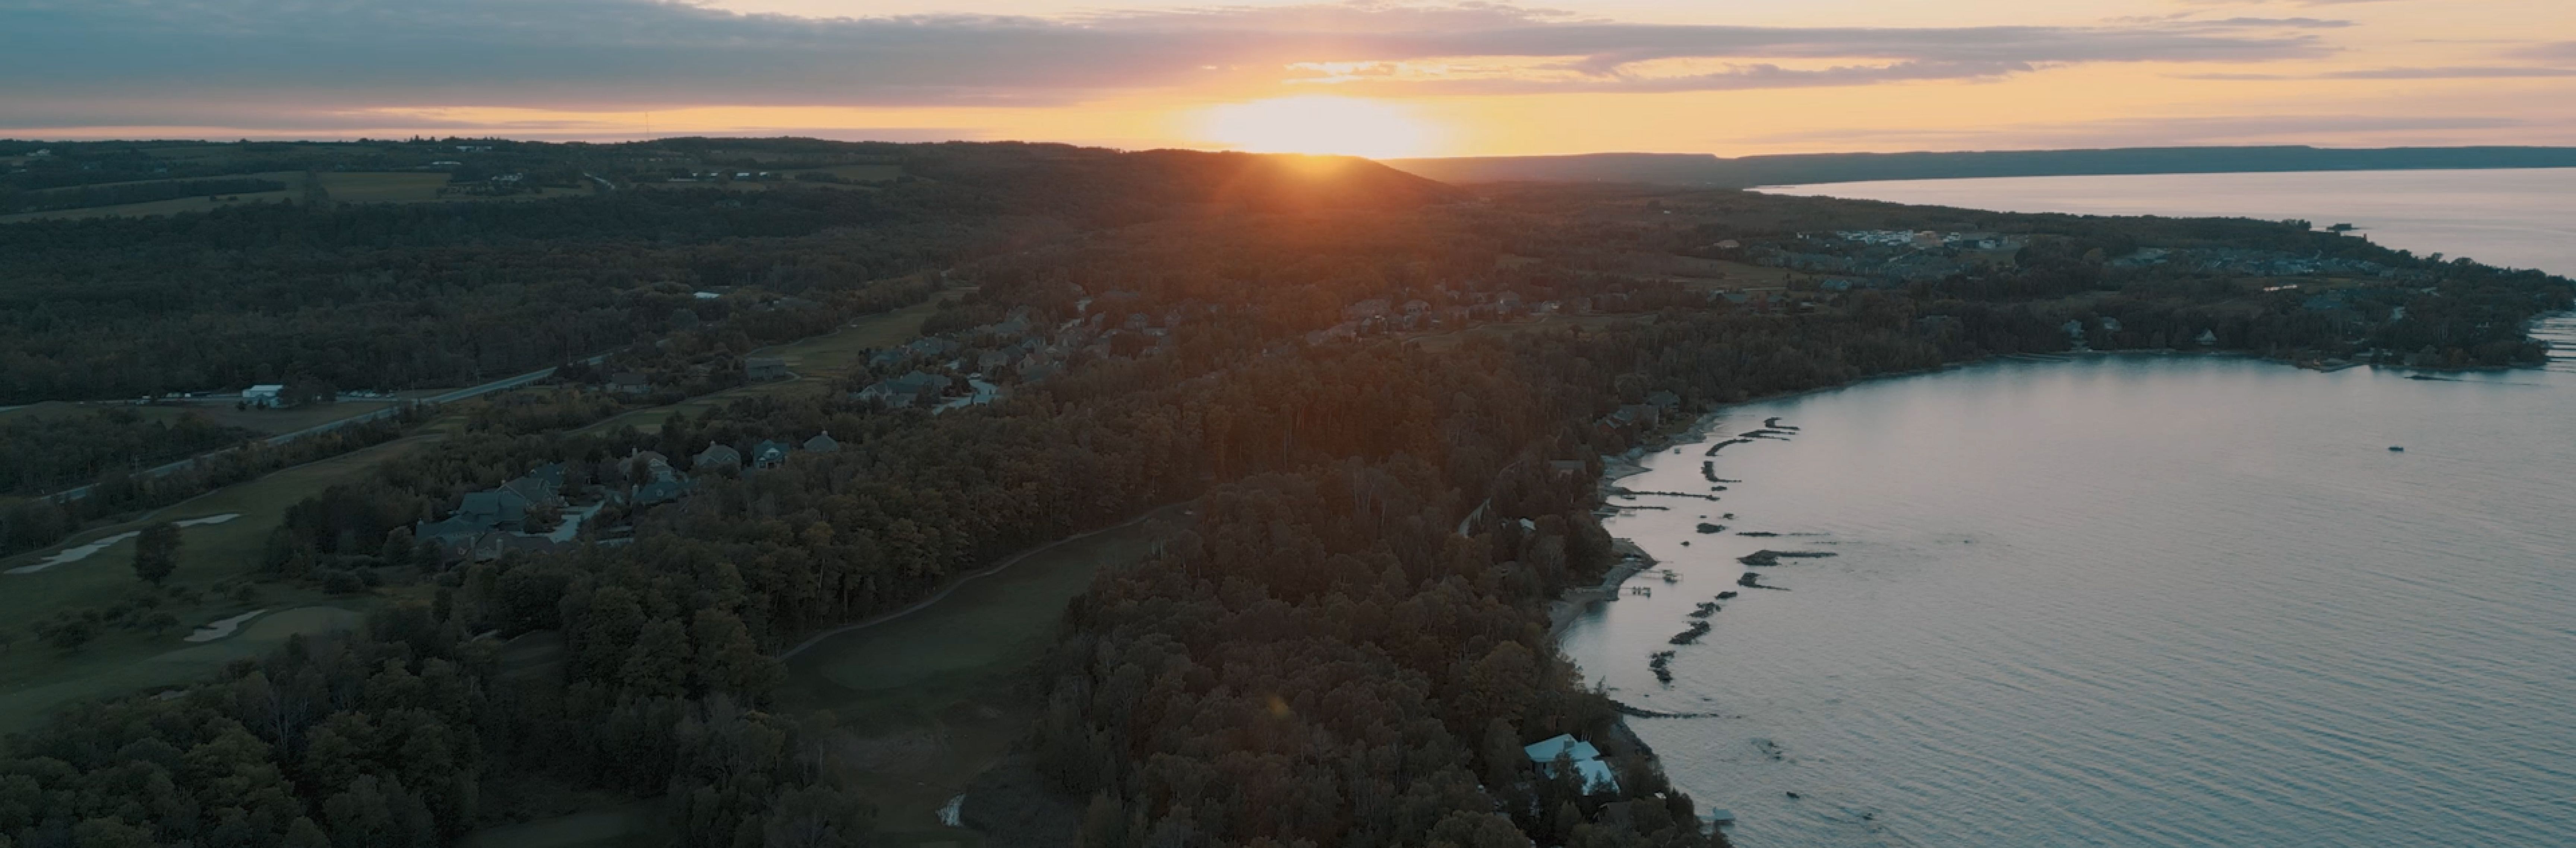
CHALLENGING GOLF. GEORGIAN BAY VIEWS.
Preparing for your round? Take a look at the scorecard in advance.
ALL OF THE LORA BAY OFFERS AND UPDATES, DIRECTLY TO YOUR INBOX.